

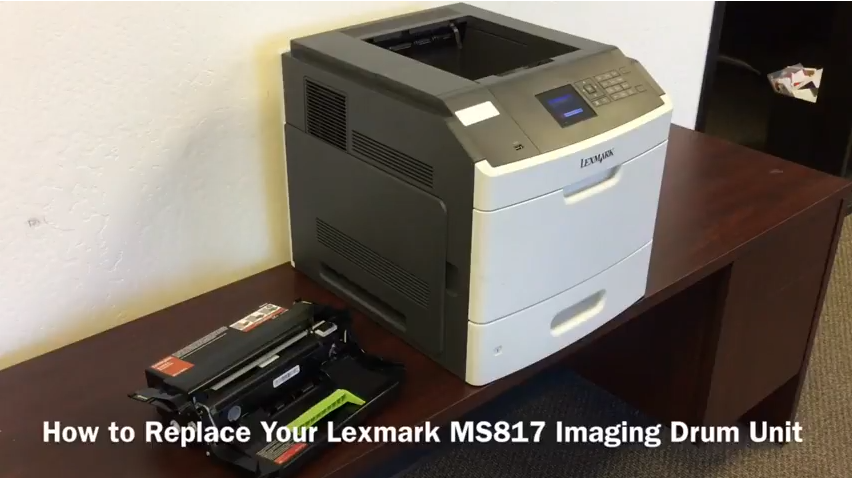
Here's the latest video showing you how to replace the imaging drum unit in your Lexmark MS817 printer!
Related error messages: 84 Imaging Drum Life Warning/PC Unit Life Warning 84 Replace Imaging Drum/Replace PC Unit
This video applies to: Lexmark MS817dn Lexmark MS817n
Step-by-Step: 1. Open the top and bottom doors of the printer. 2. Remove the toner cartidge by pulling on the green handle. Set aside. 3. Remove the imaging drum unit by pulling on the green handle. 4. Line up the arrows on the drum unit with the arrows in the printer to insert the new drum unit. 5. Reinsert the toner cartridge by also lining up the arrows and sliding into place. 6. Close the top door first and then the bottom door. 7. Printer will show "busy" and green indicator light will blink. 8. Ready to print!
Compatible Products: Lexmark 53B0HA0 High Yield Remanufactured Toner Cartridge for MS817, MS818 [25,000 Pages] OEM Lexmark 520Z Imaging Unit [100,000 Pages]
If you have any questions, call us Monday - Friday at 480-463-4548!