Lexmark MS317dn: How to Replace the Imaging Drum Unit
Need a video to help you replace the imaging drum unit in your Lexmark MS317dn? We've got you covered!
Related problems: Imaging unit low error message. 0 estimated pages remaining (imaging unit)
This video applies to: Lexmark MS317dn
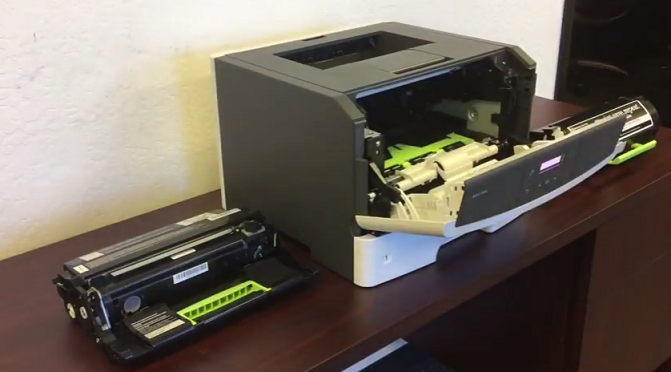
Step-by-Step: 1. Open the front door by pushing in the black button on the right hand side. 2. Remove the toner cartridge by pulling on the floppy green handle. Set aside. 3. Pull on the imaging drum's green handle to remove. 4. Line up the arrows on the new imaging drum unit with the arrows in the printer to slide into place. 5. Line up the arrows on the toner cartridge with the arrows in the printer to reinsert the cartridge on top of the new imaging drum unit. 6. Hold up the green handle on the toner cartridge as you close the printer front door, so it doesn't get stuck. 7. You're all set!
Compatible Products: Lexmark 51B1000 Remanufactured Toner Cartridge OEM Lexmark 500Z Imaging Unit [60,000 Pages]
Questions? Call us at 480-463-4548, Monday - Friday, 8am - 5pm MST.