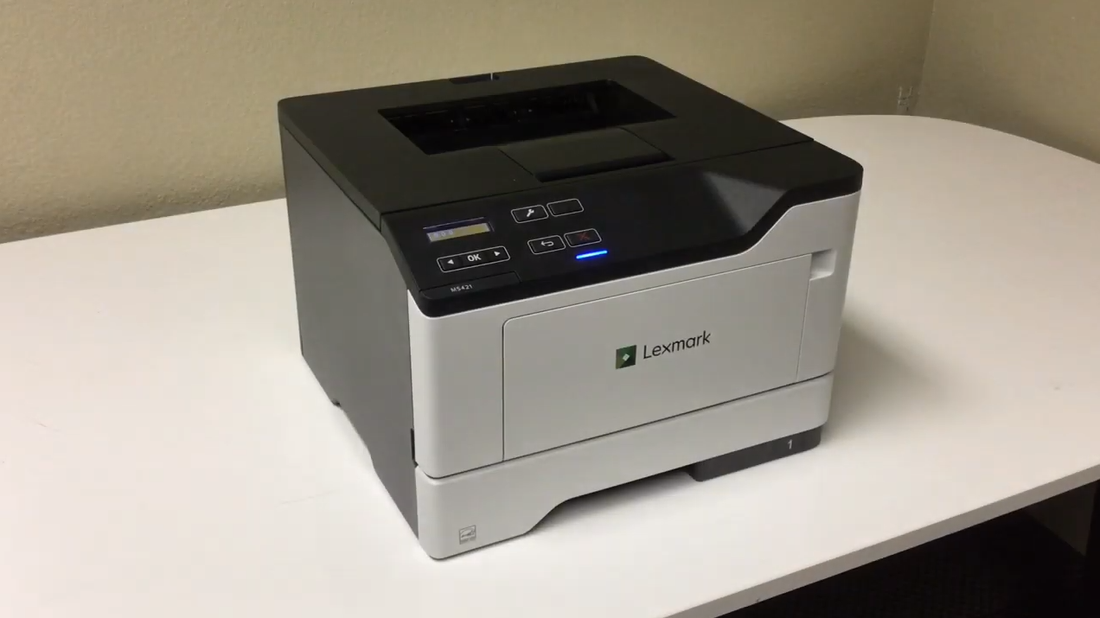
Lexmark MS321: How to Replace Your Imaging Drum Unit
Related concerns: Toner low error message
This video applies to: Lexmark MS321dn Lexmark MS321dw
Step-by-Step: 1. Open the front door by pressing the button on the right hand side. 2. Remove the toner cartridge. Set aside. 3. Remove the old imaging drum unit. 4. Slide the new imaging drum unit in. 5. Slide the same toner cartridge back in. 6. Close the printer door firmly. 7. Allow to recalibrate before you send your next print job.
Compatible Products: Lexmark 56F000G Standard Yield Remanufactured Toner Cartridge for MS321, MS421, MS521, MS621, MS622, MX321, MX421, MX521, MX522, MX622 [6,000 Pages]
OEM Lexmark 56F0Z00 Imaging Unit [60,000 Pages]
If you have any questions regarding this video or our products, our team can be reached at (480) 463-4548, Monday - Friday, 8am - 5pm MST!
